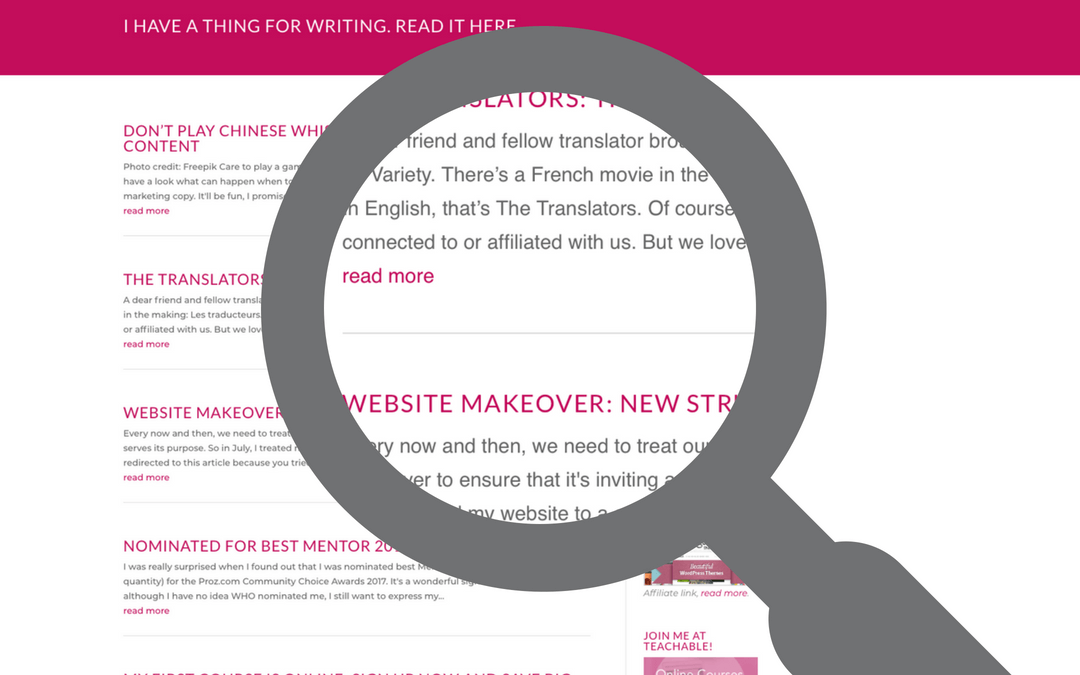
Adding lines between post previews (Divi)

When you use the blog module in Elegant Themes’ Divi theme, there might be instances where you want to add a line between the post previews, as shown in the image below. In this particular case, I was using the blog module out-of-the box, without the featured images. Adding the lines makes it look more organized.

To add this effect, go to your WordPress dashboard, navigate to Divi > Theme Options and scroll all the way down to the Custom CSS field. Copy and paste the following snippet and change the hex value (here: #ddd) to your desired color code. You can also change the values for the line thickness (border-bottom) and padding, if necessary.
.et_pb_posts .post {
border-bottom: 1px solid #ddd;
padding-bottom: 30px !important;
}
I hope you find this helpful and be sure to come back for more Divi Tips in the future.


Thanks, this was exactly what I was looking for! How do I remove the line from the very last post though?
Quick and dirty? I’d now put the code in the Custom CSS tab of the module and then add another module without the code and set off the blog numbers.
Thanks, exactly what I was looking for…
Thank you for share this finding, for me I have used this:
.post:nth-last-child(n+3) {
border-bottom: 1px solid #ddd;
padding-bottom: 30px !important;
}
My posts are 10 per page, and using nth-last-child(n+3) don’t apply the line on last one.